 Now
back to the em2 application. The third button is for viewing any
pictures on your Visor. Tap the left and right arrow buttons or use
the up/down hardware buttons to scroll through all images in the selected
category. Here I have an image that I transferred to my Visor using
eyedrop.
I may not have a PowerBook
G4 yet, but at least I can carry it on my Visor and dream!
I wish that there was a loop option; it doesn't go to the first picture
after after reaching the last picture -- you manually have to backstep
photo by photo to the beginning. This also happens if you use the
Slide Show (Options | Slide Show). I
should also mention that the slide show is fixed at about four seconds
per slide with no way to adjust it.
 The
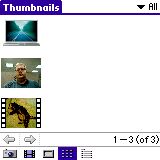
fourth button lets you view your images in thumbnail format. This
makes it convenient when you have many pictures but are looking for a particular
one. Up to nine thumbnails are shown on screen.
 The
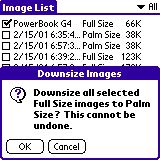
fifth button is the Image List, which lets you beam, delete, or downsize
multiple pictures at one time. You can downsize a 640x480 picture
so that it is Palm size. You cannot "super-size" your Palm size images
or reverse the procedure.
 Rounding
out the buttons are Image Info, Note, Beam, and Delete. Select Options
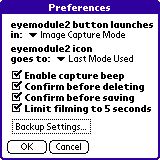
| Preferences to adjust default settings for when you insert the
eyemodule2 or run the eyemod2 application,
as well as backup settings and a few others.
Photography 101 >>